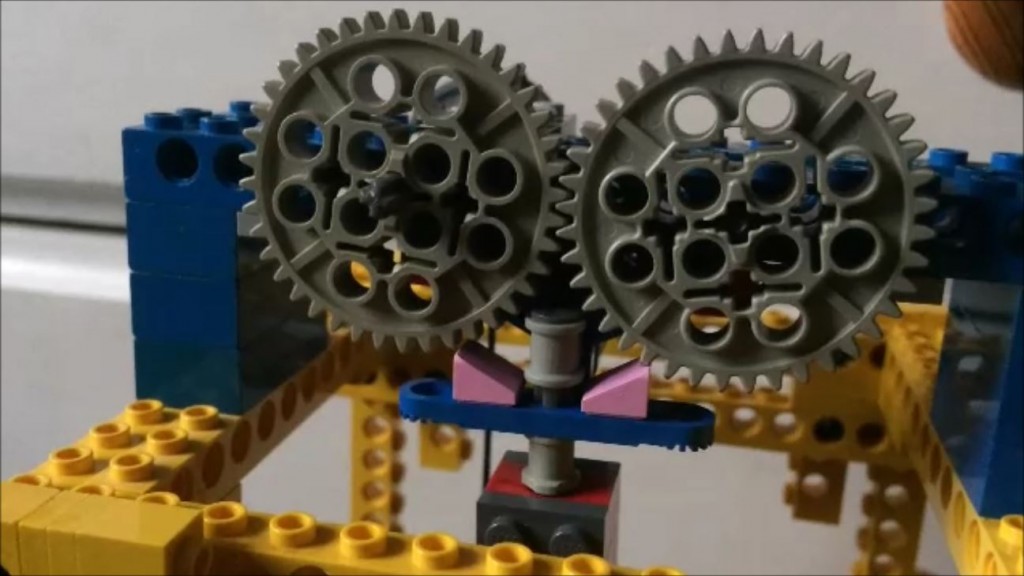
Since Christmas, I have addressed some of the problems that beset my previous clock, particularly the escapement mechanism. JKBrickworks made this fabulous sculpture, and it has a much better escapement in it. I asked if I could steal his idea and incorporated it into my clock.
The escapement mechanism is at the back. In front of that, on the black frame, is the power mechanism and winding mechanism. The clock is powered by weights (two Lego boat weights and an old electric motor) on the end of a piece of string (also a genuine Lego part).
There is also a winding mechanism that allows one to wind up the weight again whilst the clock is working. This took quite a lot of building and rebuilding to get the geometry right. It depends on a differential gear and a ratchet. It also took a few rebuilds to get it to work smoothly. One of the challenges with a Lego clock – in fact with any clock – is that the axles can bind if the frame isn’t rigid. Any axle that needs to go through three holes is especially problematic.
At the front, in the yellow frame, is the gearing mechanism that I used in my previous clock. The only addition is a few gears to make sure that the “ticking” of the escapement (which has 12 teeth, and hence rotates in 12 ticks) corresponds with one tick of the second-hand (which needs to rotate in 60 ticks).
With the gearing ratios correct (it’s not complicated – just multiplication) making the clock keep correct time is mostly about getting the length of the pendulum right. I could have looked up the physics on how to do this properly, but I chose the trial and error method instead. I found a round weight to go on the end (thanks Han Solo) and adjusted it up and down until the timing was about right. The clock keeps correct time for as long as it takes before it runs out of string … just 2 minutes at the moment. Not fantastically practical as a clock yet (and not as long as the previous version), but I’m much happier with the results.
A note about the clock tower: this is a simple construction made of 2×2 and 2×4 bricks using the parts from last year’s wedding cake.
I’m not the first to make a working clock in Lego. Nico71 made this clock with hour, minute and second hands. Someone called Gonkius made a clock which is weight powered, (but automatically winds itself, and uses a Lego Mindstorms robotics controller to adjust the pendulum length to keep correct time). For something really different, DrDudeNL made this Congreve clock in Lego.
